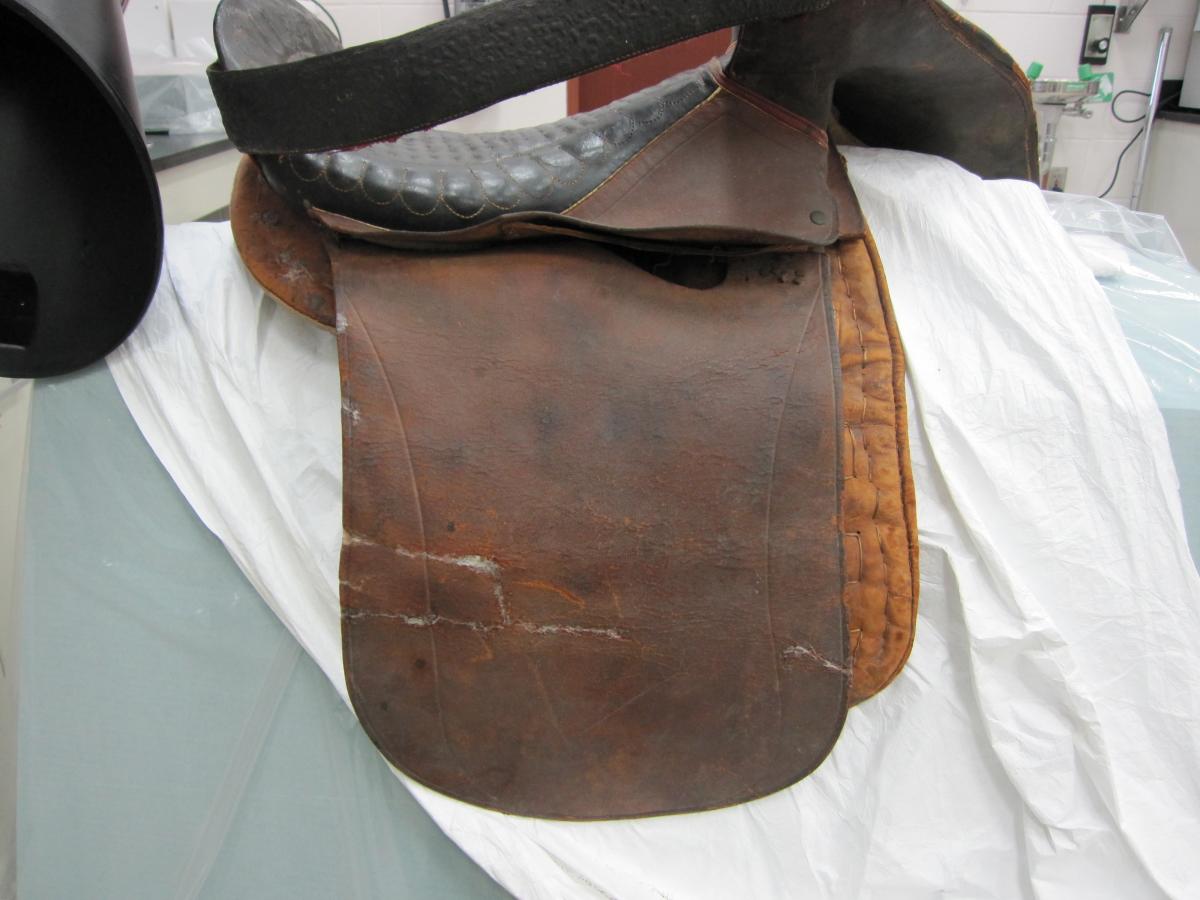
When we last left the Creighton side saddle, it was in a sorry state. It had been brought to the Ford Conservation Center for treatment in hopes that it could be stabilized and returned to a condition that could be displayed and stored safely for the long-term.
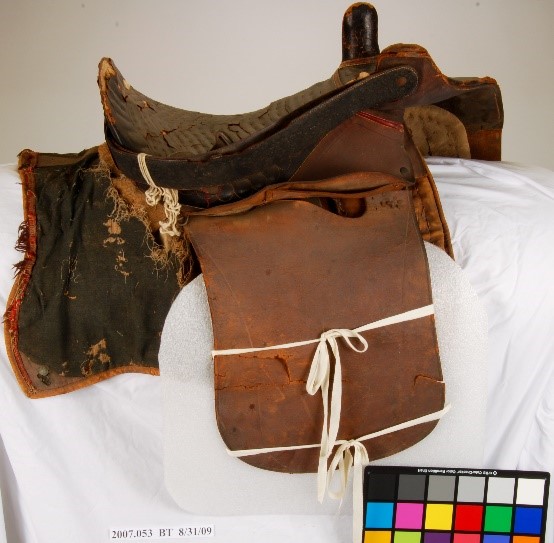
The Creighton Saddle Before Treatment.
As with all objects that are brought to the Ford Center for treatment, before any work could begin, “Before Treatment” photos were taken to document the condition of the saddle. These photos show the overall condition as well as details of areas with significant damage. Tests were carried out to determine if the coating and stains on the various components of the saddle were soluble in our standard array of organic solvents. Because of potential pest damage and the presence of insect casings, the saddle was wrapped around a cushion for support (in this case a moving blanket), wrapped in plastic sheeting, and placed in the deep freezer for a few days to kill any creepy crawlies. It was then thawed for another day or two and frozen again to kill anything that might have hatched after the first freezing. Now that it was free of anything living, loose dirt and grime, and any insect remnants were removed with a low-suction HEPA vacuum and a soft brush. Lightly dampened swabs were used to remove additional dirt.
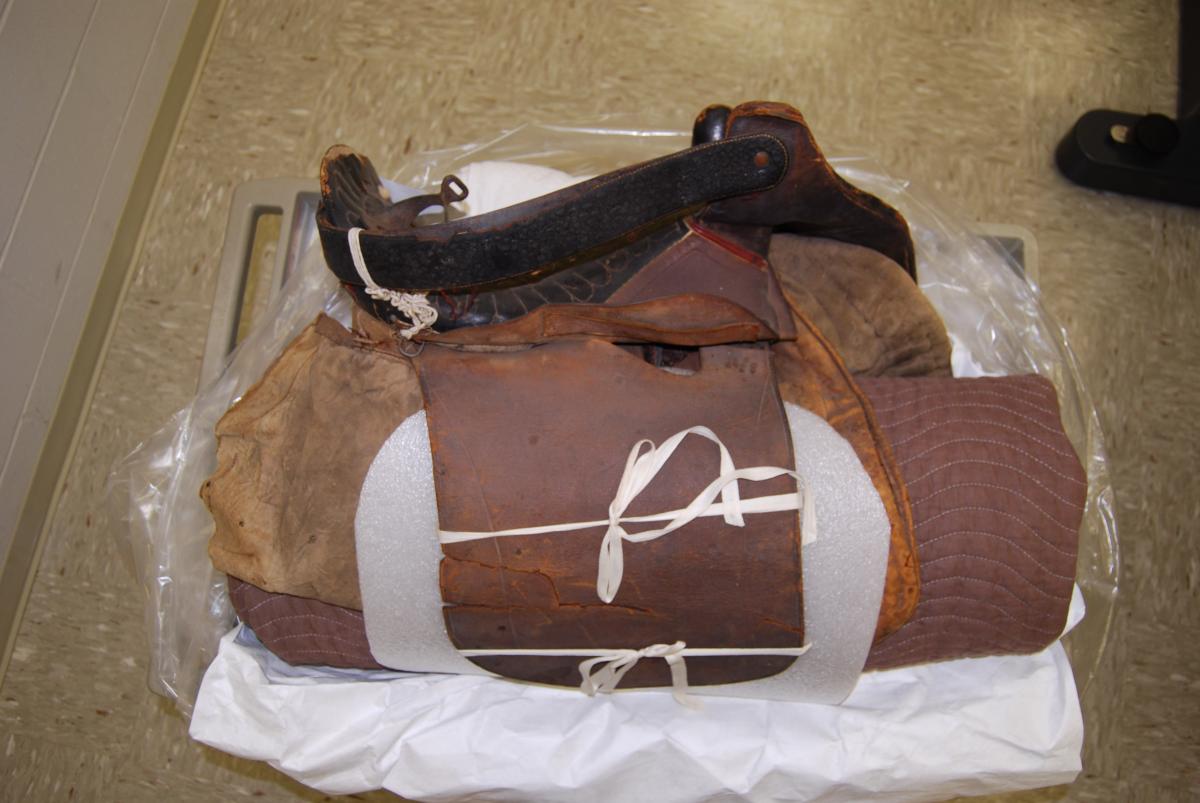
Saddle supported and tied to blankets, ready to be wrapped in plastic for freezing cycle.
In order to access the underside of the saddle during treatment, a special sling was created so the saddle could be placed upside down. The sling mount was created from PVC pipe and Tyvek spunbonded polyethylene fabric. Once in the sling, the saddle pads beneath the leather flaps could be vacuumed and repaired. Powdery white mold on the leather side of the saddle pads was reduced using ethanol.
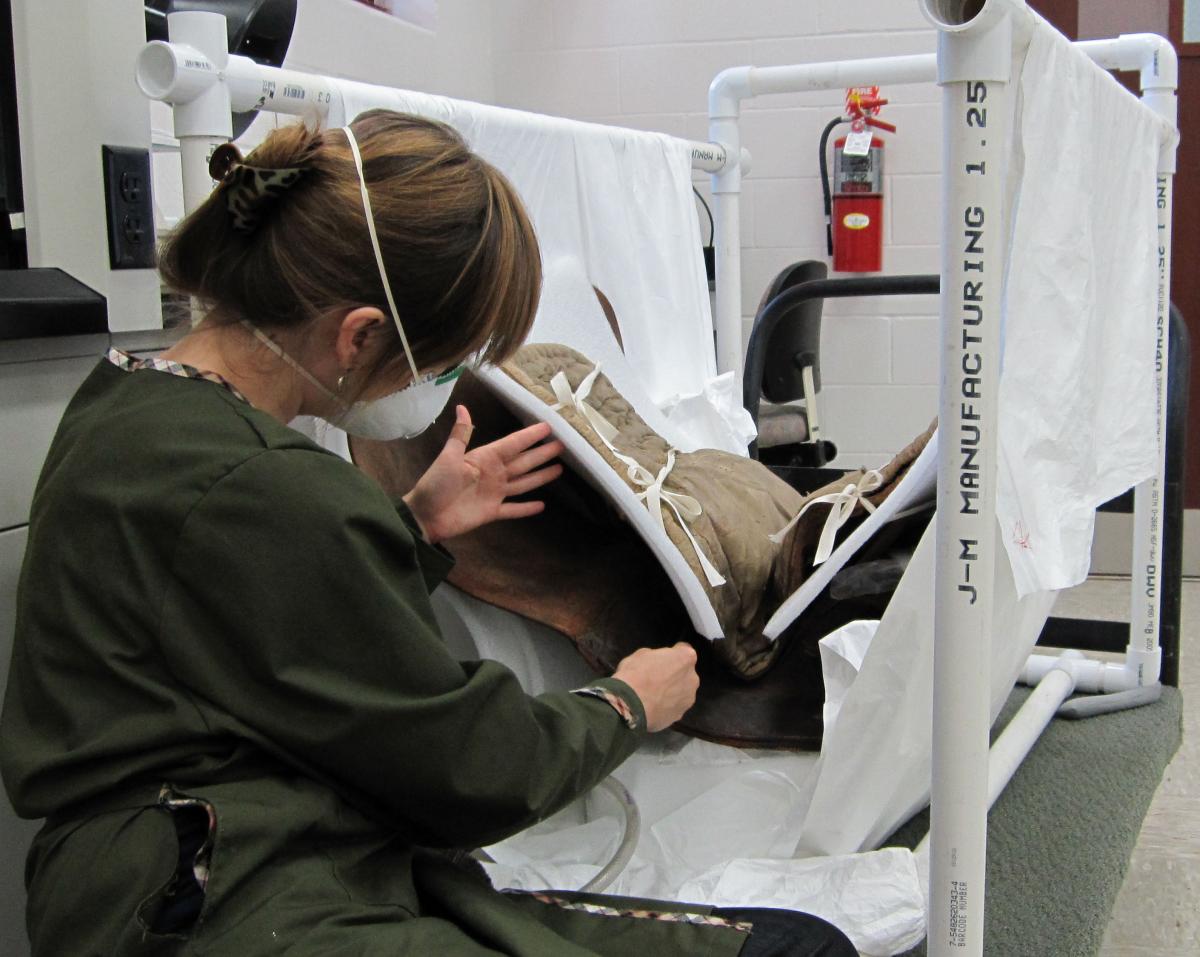
The sling support made to access the underside of the saddle. Here Objects Conservator, Rebecca, vacuums the saddle.
Large tears and holes in the canvas of the saddle pads were repaired using washed muslin toned with a dilute acrylic paint to match the surrounding textile. The edges around the holes were stabilized with an adhesive and the mends were attached using cotton thread, dyed with tea and rinsed thoroughly with deionized water. Tears in the leather side of the saddle pads were stabilized using goldbeater’s skin coated with a heat-activated adhesive and applied using a heated tacking iron. Goldbeater’s skin is a flexible transparent material made from animal intestine, traditionally used in making gold leaf and to repair parchment, vellum and leather objects The saddle pads were re-stitched where the original cotton thread had degraded using embroidery floss toned with acrylic paint and using the existing stitch holes.
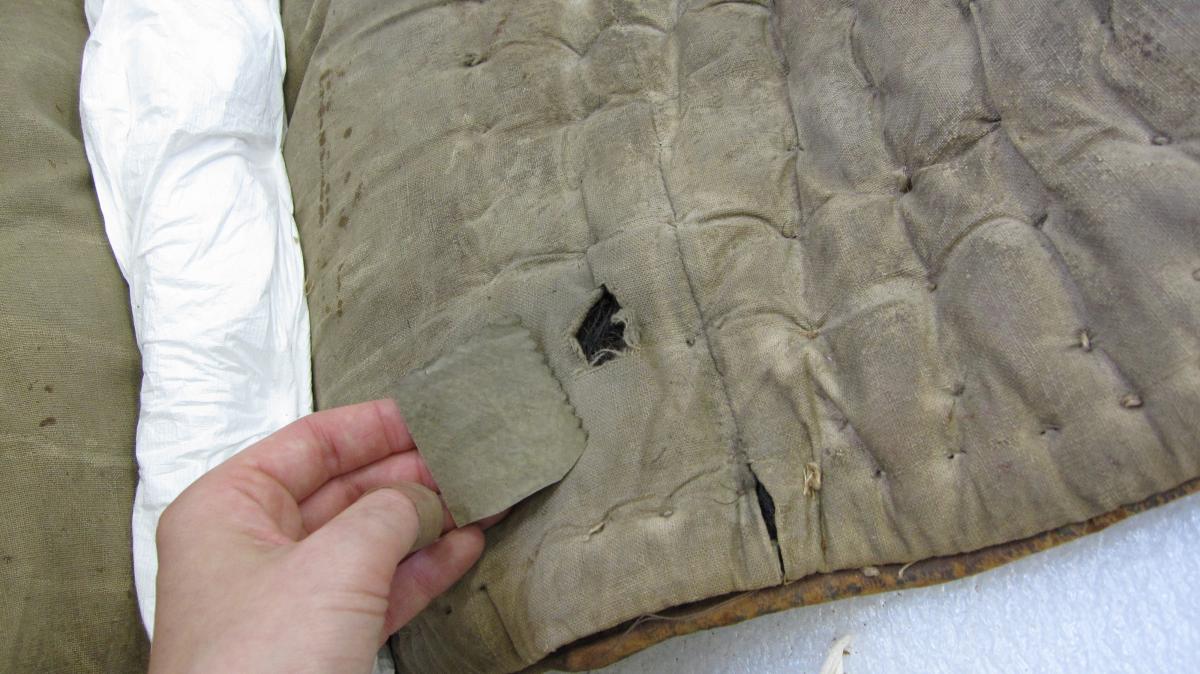

(Left) Toned cotton muslin patch that will be tucked under the whole and stitched in place to prevent further loss of original material. (Right) Restitching the saddle pads using toned embroidery floss and using the original stitch holes.
The deformed skirts and flaps were humidified using dampened blotter paper wrapped in Gore-Tex microporous fabric, which lets moisture vapor pass through without wetting the leather. The leather was humidified under light weights overnight. This process was repeated several times until the skirts were returned to their proper shape.
Severe tears on the proper right saddle flap were stabilized using goldbeater’s skin coated with a heat-activated adhesive. A large section was adhered to the back of the flap to stabilize the pieces. Small losses were filled with adhesive and covered with small tabs of goldbeater’s skin. All goldbeater skin repairs were inpainted using a mineral spirit based acrylic paint. Water-soluble residues were removed from the proper left saddle flap using deionized water on cotton swabs. White paint splatters were reduced using acetone.

Made out of the outside membrane of ox intestine, goldbeater’s skin is used in the production of gold leaf and is an excellent material for repairing leather.
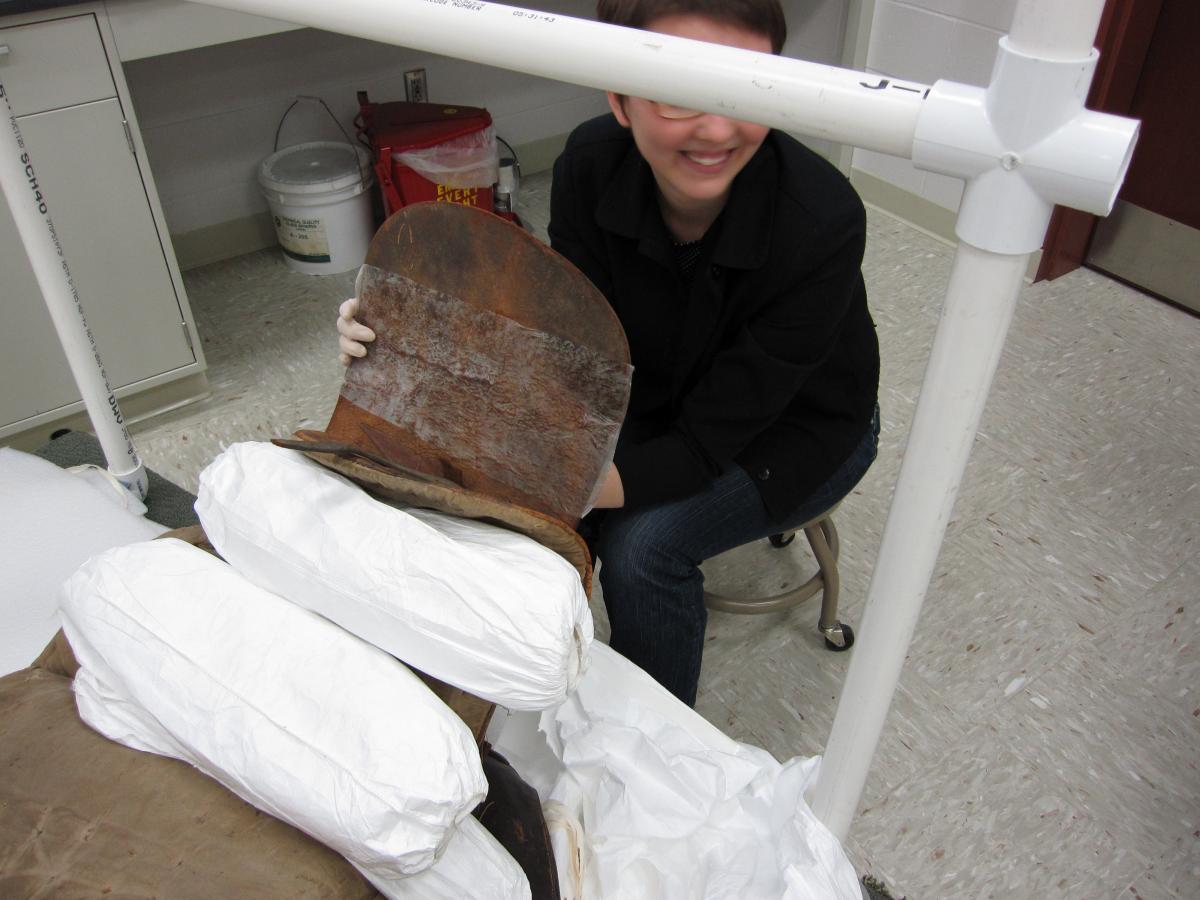
(Left) Technician Megan Griffiths holds up the leather flap to show large goldbeater’s skin patch on the back side. (Right) The front of the flap showing the repair to the tear.
Flaking leather and areas where the epidermis had been lost were consolidated and losses were toned using paste wax mixed with dry pigments. A light coating of toned paste wax was applied to the painted elements on the flaps, which had faded over time. The saddle flaps and skirts were coated overall with a mixture of paste wax and dry pigments.
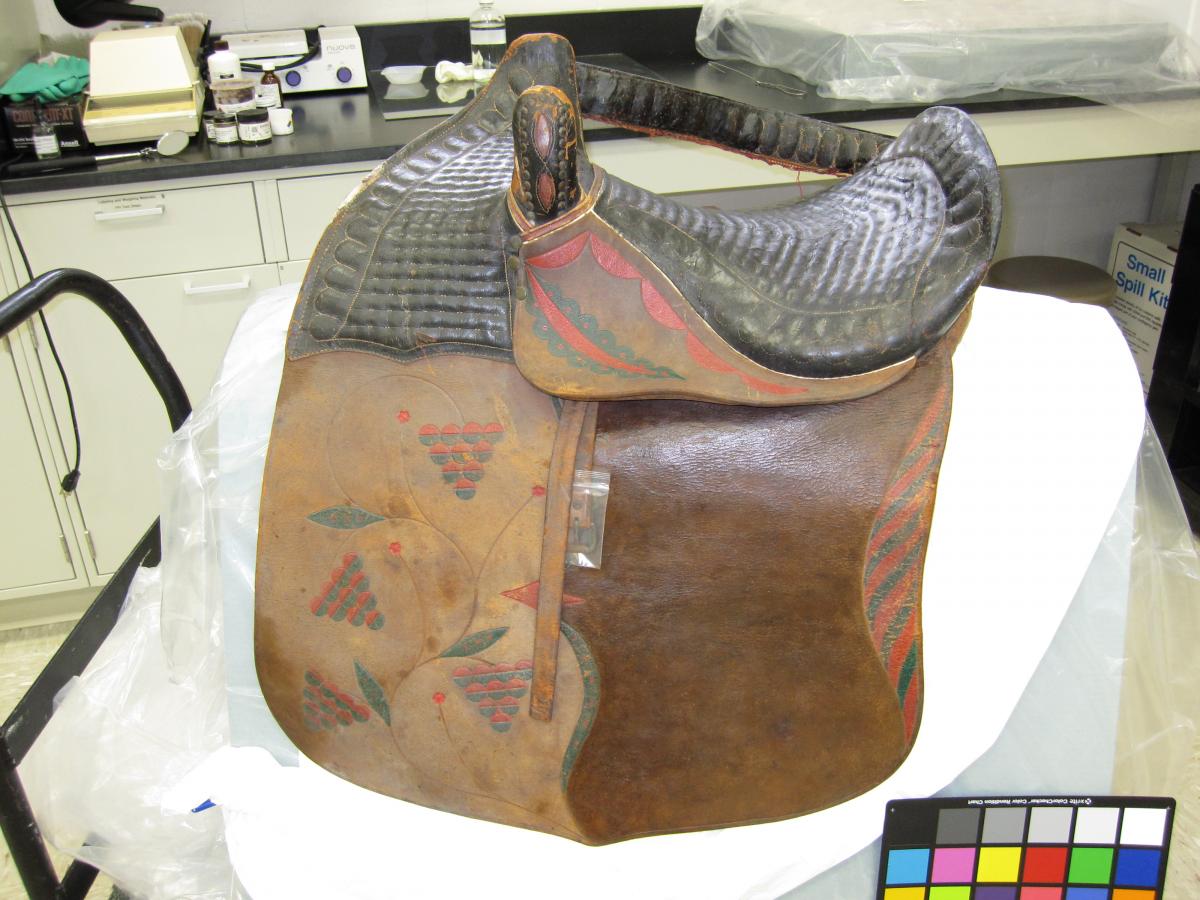
Proper left flap showing the before and after of toning with wax and dry pigments.
Corrosion on all accessible metal components was mechanically removed using ground up corn cob abrasives in an air abrasive unit (much like a small sand-blasting machine). They were then degreased and coated with clear paste wax and buffed. After treatment, the iron stirrup was stored separately, in a bag within the saddle mount. It was not possible to attach the stirrup to its original strap because the strap is too fragile and an unknown length of it is missing.