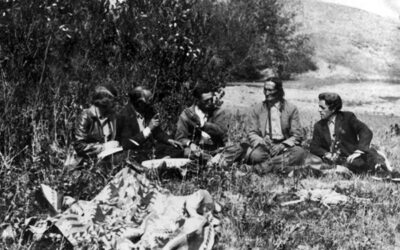
When collection objects are loaned from one museum to another for an exhibit, it is best practice for a condition report to be written before the object is sent away. As the name implies, the condition report describes the current condition of the object to ensure that any damage is noted so the borrowing institution can be aware or to document the condition at the time of the loan to be sure the condition is maintained when the object is returned. Sometimes, before an object is loaned out, a conservator will treat it to repair or stabilize any damage so it can be safely transported and displayed.
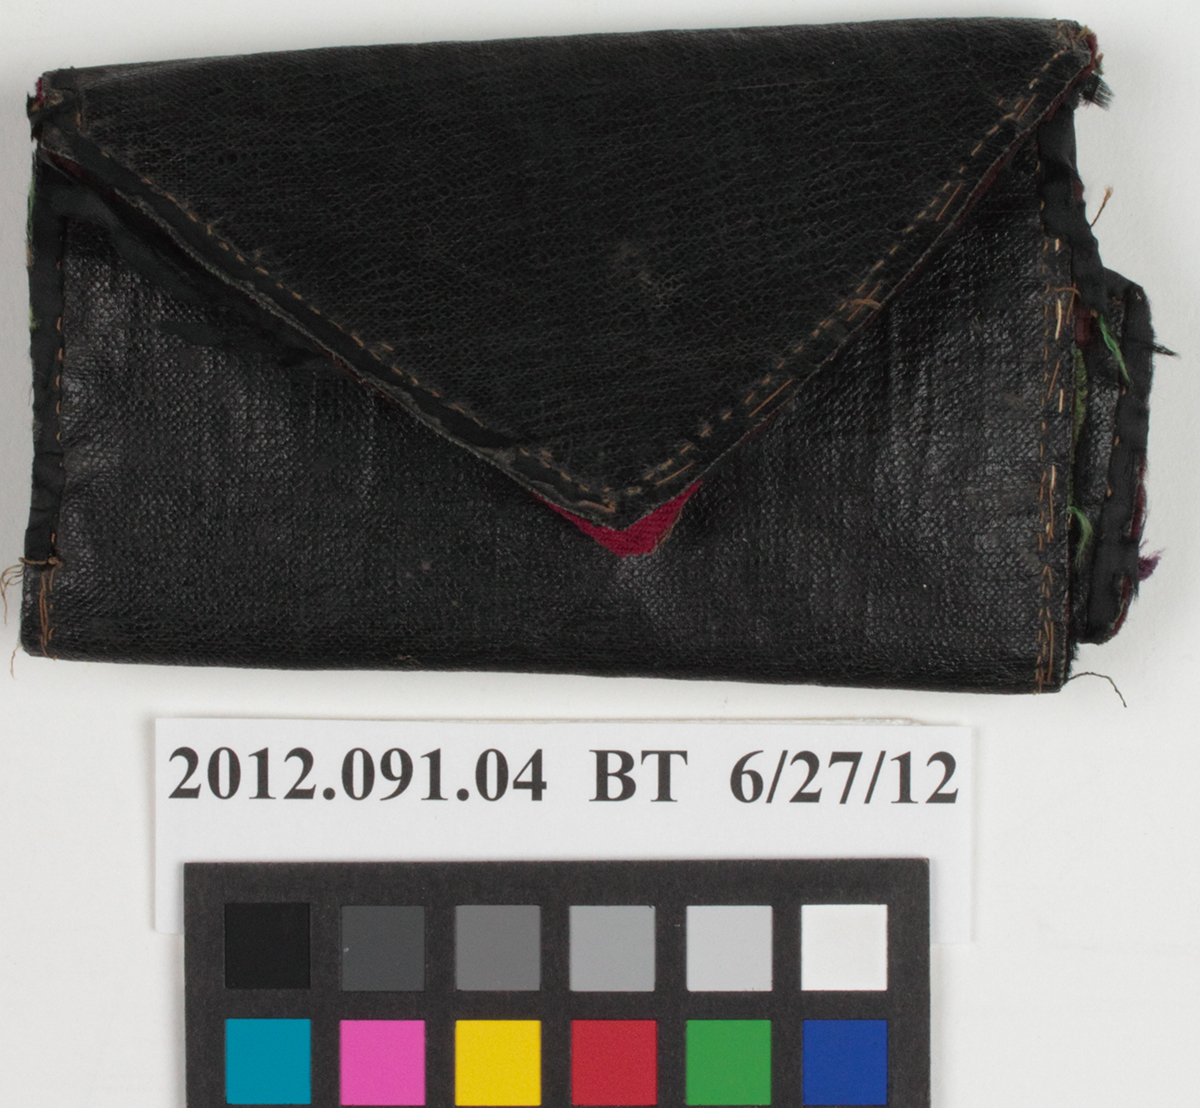
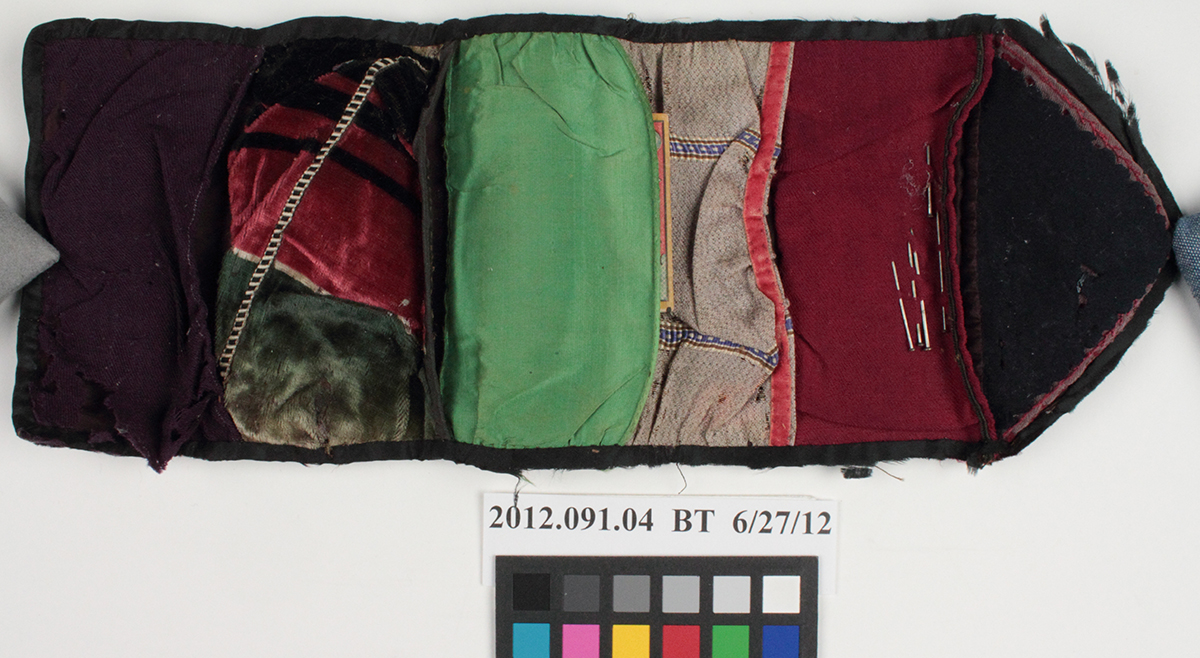
The sewing kit before treatment folded (left) and opened (right).
The small folding sewing kit is part of the Nebraska History Museum collection, and several years ago, it was loaned to another museum for an exhibit. The sewing kit has an oilcloth cover, and the interior is lined with five different fabrics that form pockets. A few pins were stuck into the fabric, and there was also a small paper packet of Wm. Clarke & Sons Helix needles in one of the pockets. Another pocket had a miniature Hazeltine’s Pocket Book Almanac for 1882. The back of the almanac says, “Harle, McKune & Co., Council Bluffs, Iowa.”
The sewing kit was in fair condition. The most serious damage is to the fabric. The black silk trim was shattered, and pieces are loose and in danger of detaching. There was evidence of insect damage to the cloth pockets inside the sewing kit, most notably the black felt piece and a purple wool piece, which both exhibited numerous large holes. Remnants of insect casings were present. It was necessary to clean and stabilize the kit before it could be sent out on loan.
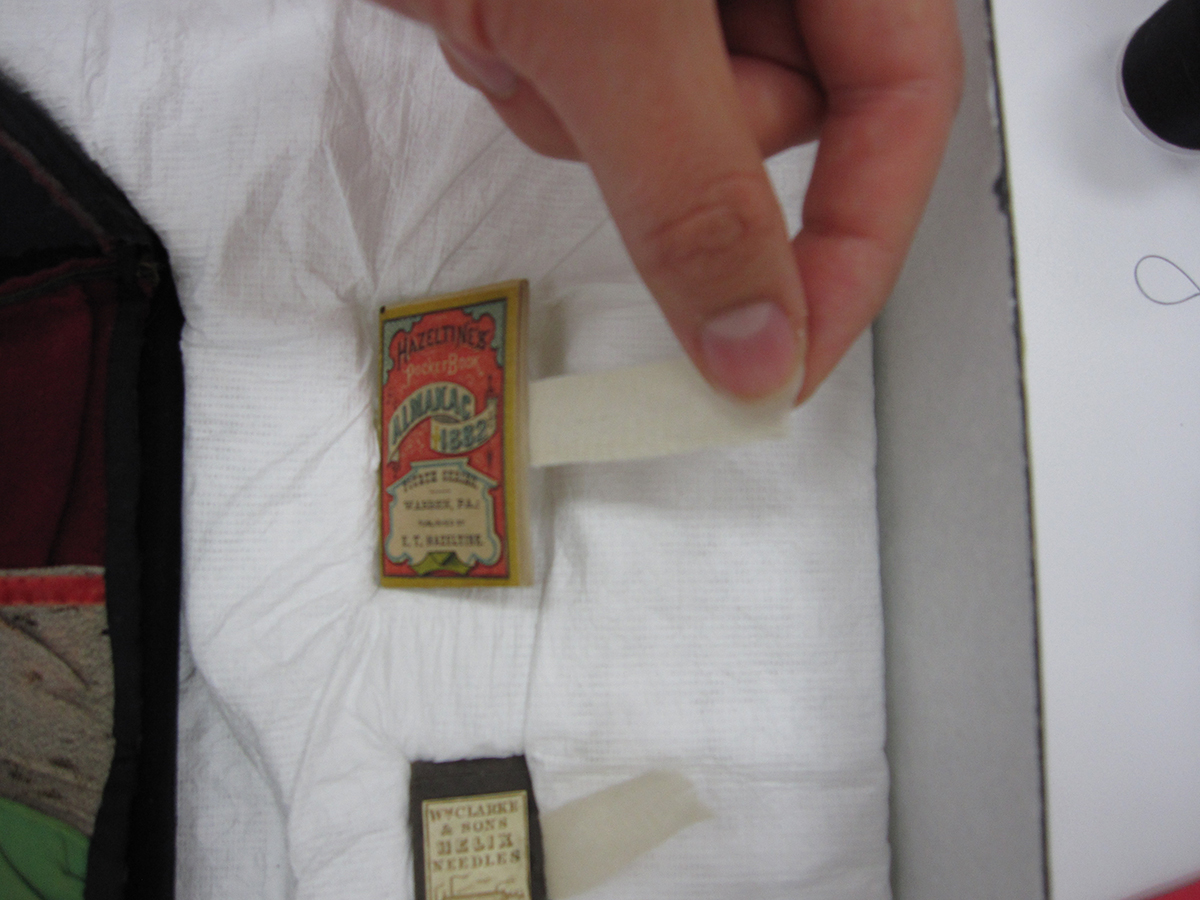
The miniature almanac from inside the sewing kit was placed in its own sink mount with a twill tape tab so it can be safely lifted for removal.
The almanac, needle packet, and wrapped stones were removed from the pockets.
The sewing kit was vacuumed under a screen to remove particulate matter. The fabrics that were to be humidified were tested for water sensitivity using small drops of water and blotter paper. The black silk ribbon was humidified where needed, and the edges were weighted so they would dry flat. The purple wool cloth of the bottom pocket was spot humidified and manipulated by hand to ease it back towards its approximate original position. Black chiffon fabric was placed inside the pocket for support.
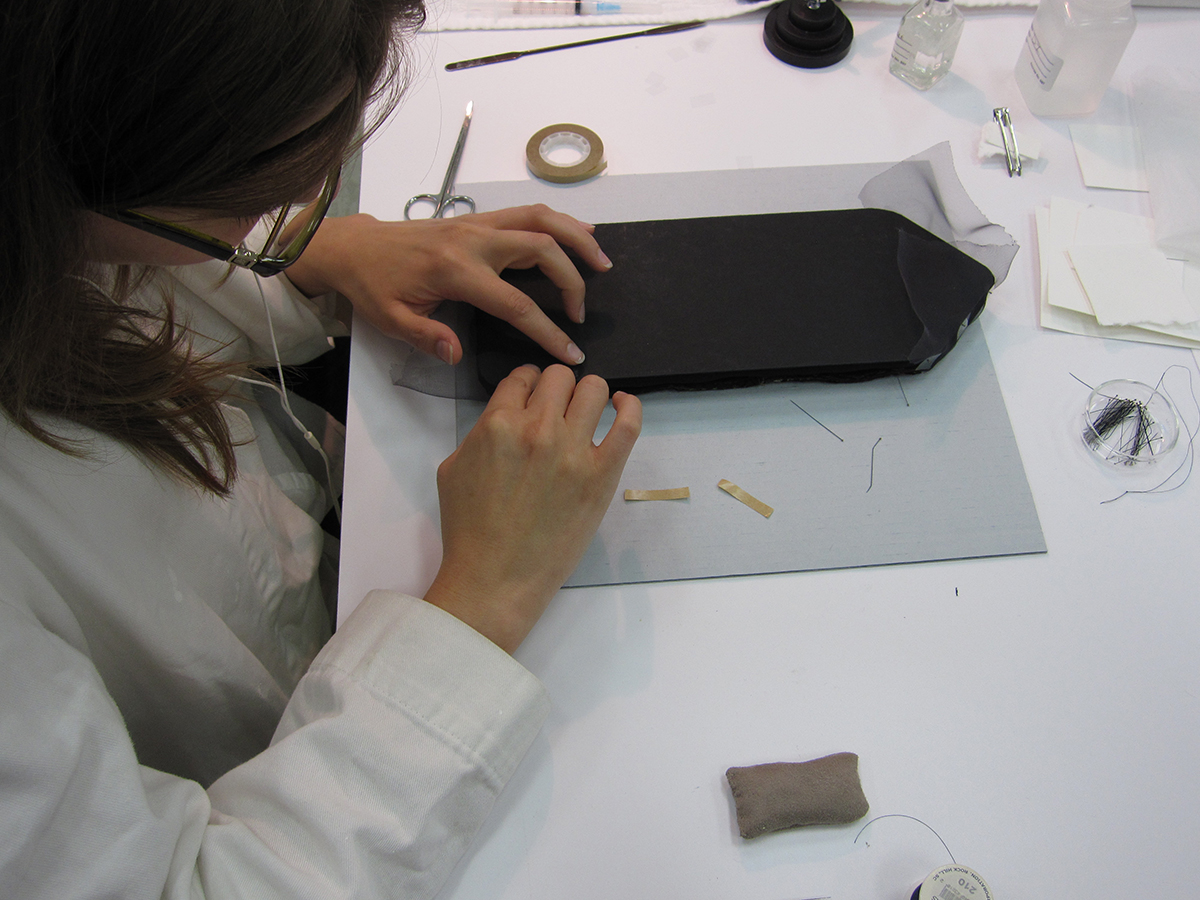
Conservation Technician, Megan Griffiths, tapes the sheer black fabric to the back of the support.
A permanent supportive mount was made consisting of a black mat board and ethafoam. Black polyester chiffon was wrapped around the board and ethafoam and glued to the back. Another layer of mat board was glued to the back to secure the chiffon. The sewing kit was placed on the mount and temporarily pinned in place. A black sheer, lightweight polyester fabric was cut with a pointed hot tool to the desired shapes and wrapped around the top and bottom portions of the sewing kit. It was pinned in place and then taped to the back of the mat board using double-sided tape. Sheer fabric was then stitched to the sides of the mount with black cotton thread. An additional layer of mat board was glued to the back of the mount to secure the sheer fabric. This way, the sewing kit was enclosed within the sheer fabric without any stitching needing to go into the original fabric. If needed in the future, the kit can be easily removed from the enclosure.
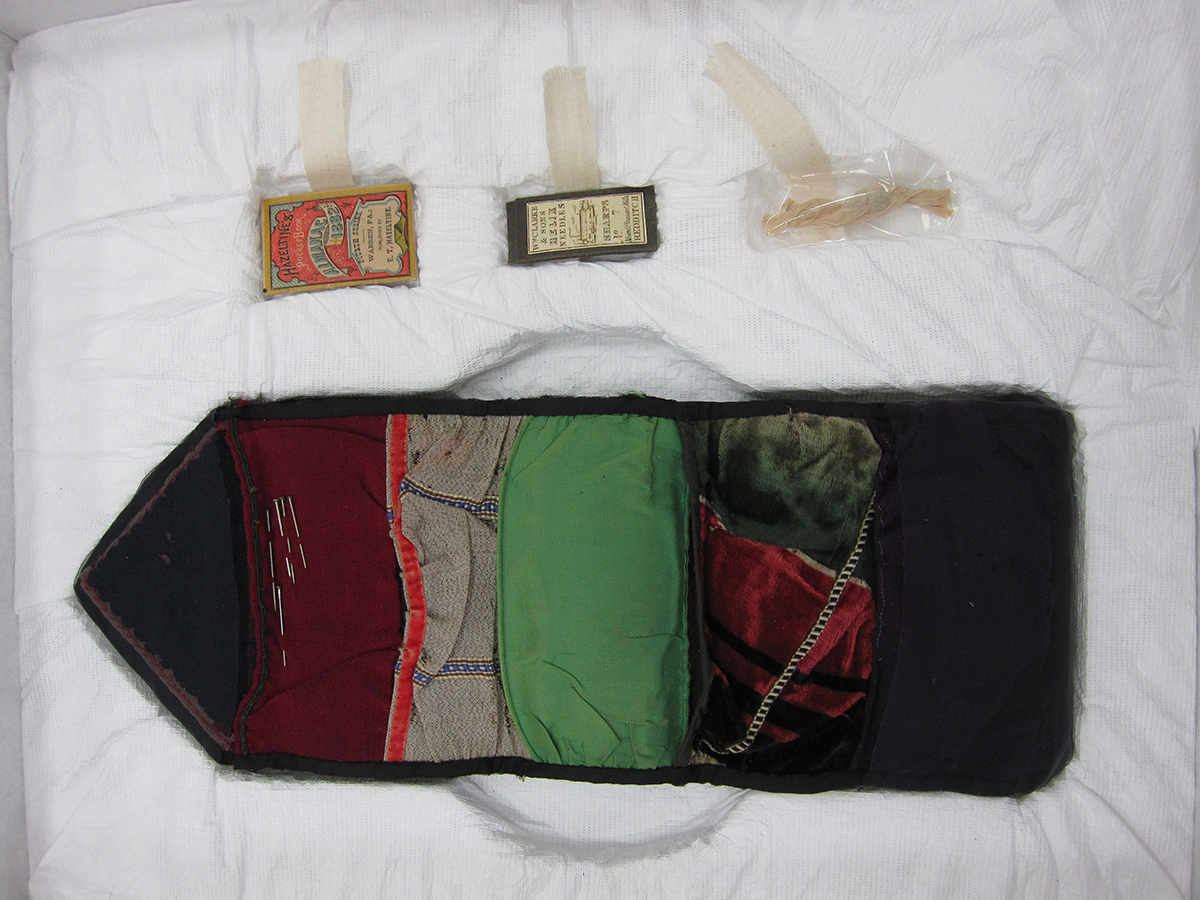
The sewing kit and accessories are secure in the custom sink mount.
A sink mount was created for the sewing kit mount and the items which had been found inside. A top was made for the sink mount to aid in transportation. With a fairly simple treatment, the sewing kit was stabilized for transportation and can be safely displayed. If needed in the future, the kit can be easily removed from the enclosure.


